Lens Buddy is a self-timer camera app built for people who shoot alone, and after a few weeks of carrying it around on an Android phone, it has become the thing we open whenever there is nobody around to hold the camera. The idea is plain. You prop the phone somewhere, set a timer, walk into frame, and the app fires a run of shots while you move. What surprised us is how much it cues you while you do it, using flash and sound and even a spoken prompt, so you are not standing there guessing when the next frame goes off. Below is how we set it up, the ten shots that actually worked, and the rough edges worth knowing before you install it.
The install is the boring part. We pulled Lens Buddy from the Play Store, it was a quick download, and it opened on a mid range phone in a couple of seconds. First launch asks for camera and storage access, then drops you on a shooting screen with the shutter, a timer control, and a small switch between two scheduling modes: Pose Timer and Burst Timer.
Those two modes are the whole game. Pose Timer gives you a delay before each shot so you can reset between frames, which is what you want for deliberate, styled photos. Burst Timer fires a run of frames with a gap you set anywhere from half a second up to ten seconds, which is what you want when you are moving and want every small change caught. We usually started in Burst Timer with a five second lead-in and the spacing pushed out to two seconds, which gave us time to set the phone down, step back, and settle before anything fired.
The part that makes solo shooting work is that the app guides you out loud. It can flash, beep, or actually speak to tell you a frame is coming and that it is time to change pose. The first time the spoken cue went off in a quiet cafe it made us jump, and the table next to us looked over. But once you are used to it, you stop needing the screen at all, which is the point.
A plain self-timer would have gotten us maybe two of these ten. The rest came down to a handful of things working together.
The spacing control in Burst Timer did most of it. Stretching the gap out to three or four seconds meant we could fully change a pose between frames instead of blinking out ten near-identical photos. Our favorite portrait, a slow turn toward a window, came from a four second gap and nothing else. When we wanted a single composed frame, Pose Timer with a long delay was the better call, since it waits for you rather than racing through a run.
The AI cues are what let you ignore the screen. Because the app tells you when each shot fires, you can stand twenty feet away with your back half to the camera and still know exactly when to move. We leaned on the flash cue outdoors where you cannot hear a beep, and the speech cue indoors.
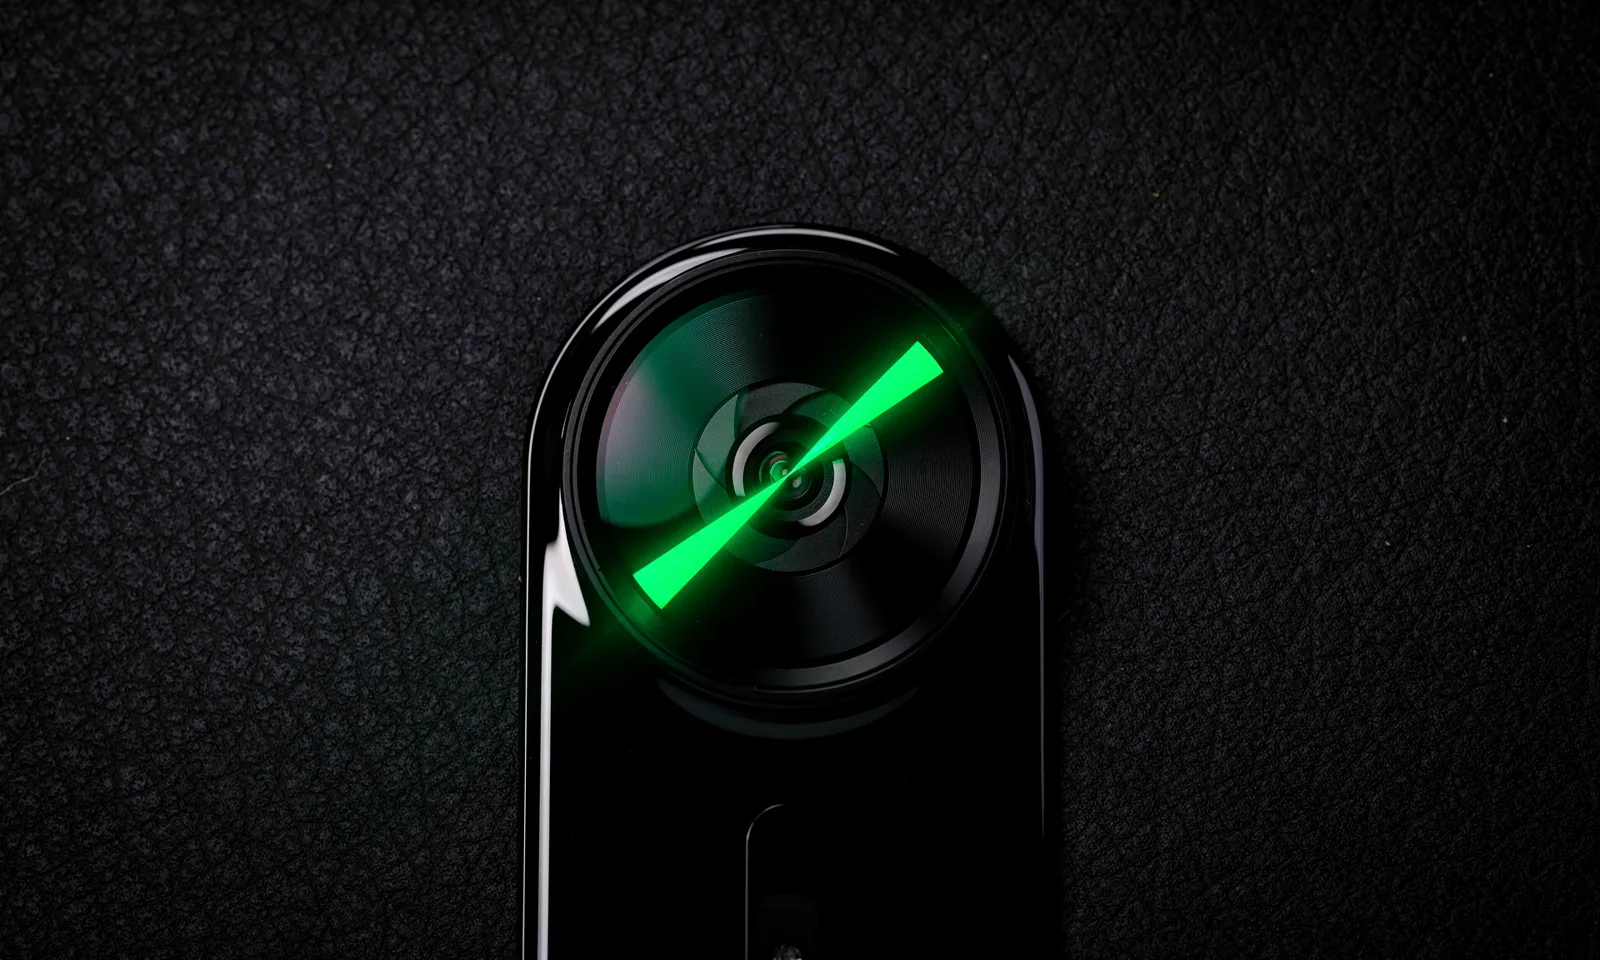
On the technical side it captures at 48MP on phones that support it and can save RAW, which matters if you plan to edit hard later. It also records standard video, which we used for a couple of the shots below. You get preview filters, zoom, and control over focus and exposure before you walk away, and locking focus on your spot ahead of time stopped the camera from hunting and softening the frame we actually wanted.

Here is the actual list, roughly in the order we shot them. None needed a second person.
Most of these went straight into the app's gallery, where you can rate and sort the frames before exporting. The keepers, especially the RAW ones, dropped into a proper editor for a finishing pass. We cover that workflow in our guide to free Android Photoshop apps.
A few small habits made a real difference once we stopped fighting the app.
Shoot more frames than you think you need. A fifteen frame burst means you can relax into the pose instead of nailing it on frame three. Wipe the lens before every set too, because a single smudge ruins the whole run and you only notice it back at the gallery. Speaking of which, actually use that gallery: on one shoot we deleted thirty of forty frames and kept the ten that worked, and the drag-to-rate step makes that fast instead of a chore.
Light from the side or behind beats harsh overhead light, and Lens Buddy does nothing to fix bad light, so that part is on you. We placed ourselves on a third rather than dead center using the gridlines, which turned flat snapshots into something composed. And prop the phone on something genuinely steady. Ours slid off a cookbook mid-burst once and we lost the set, so a small tripod or a wall ledge is worth the trouble.
Lens Buddy asks for camera and storage access, which is what you would expect from a shooting app, and we saw nothing that felt out of place. Still, read what any camera app requests before you grant it, and our best camera apps for Android roundup walks through what is reasonable.
It is not flawless. The free version shows ads, and a full screen one popped up right as we finished a burst more than once, which broke the moment. There is a paid upgrade that clears them. Image quality rides on your phone hardware, so it will not beat your stock camera on sharpness. RAW files are large, and a few long shoots ate noticeable storage before we noticed. On our older test phone, very long bursts occasionally stuttered or dropped a frame. And the AI pose cues take a session or two to read instinctively, since at first you are not sure whether a beep means shoot now or shoot next. None of that stopped us using it, but go in expecting a clever timer and not a studio.
Lens Buddy fits the solo timer niche well, but it is not the only route. If you mainly want manual control and pro style settings, a dedicated camera replacement may suit you better, and you can compare several in our Photo and Video hub. One thing to skip: Adobe Premiere Rush, which used to be the obvious pick for editing this kind of footage, is being retired. Adobe stopped new downloads on September 30, 2025 and the app reaches end of life on September 30, 2026, with Premiere on mobile taking its place (the Android version is in early access). So do not start a workflow around Rush now. Your phone's own camera app also has a built-in timer and burst mode that cost nothing, so for the occasional group shot, try that before adding anything. For us, Lens Buddy stuck around because the AI cues genuinely let you shoot alone without staring at the screen.
Yes, the core app is free and covers the Pose Timer, Burst Timer, and AI cues we used for every shot here. It is ad supported, and a paid upgrade removes the ads and adds a few extras. For casual creative photography the free version was enough for us.
No, but something steady helps a lot. We propped the phone on books, cups, and windowsills for most of these. A small tripod made the wide and mirror shots cleaner, though plenty of our favorites came from the phone just leaning on something solid. Make sure it cannot slide; ours slipped off a cookbook once and we lost the whole burst.
It asks for camera access to shoot and storage access to save your photos and video. Those are standard for this kind of app, and we saw nothing unusual. You can review or revoke either one anytime in your Android settings.
Yes. Alongside stills it records standard video, which we used for the golden hour motion shot and then pulled a frame we liked out of the clip. The bigger thing for solo shooting, though, is the AI guidance: the app cues you with flash, sound, or speech so you know exactly when each shot fires without watching the screen, then lets you rate and cull the results in its gallery.
 Best Camera Apps for AndroidPhoto & Video